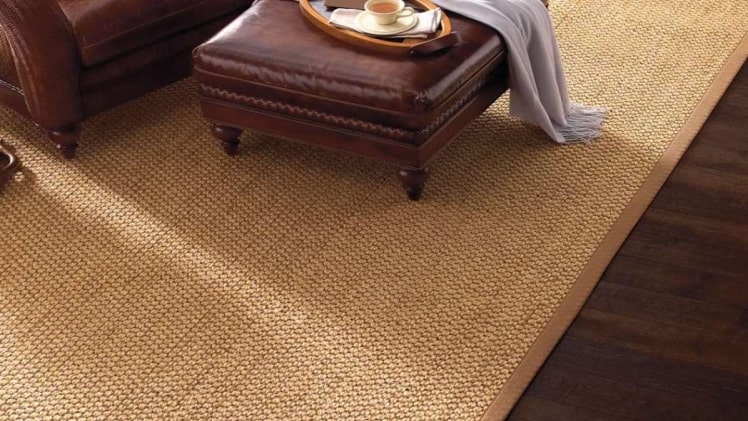
Coir matting is one of the most popular mats for entrances. You have chosen your pretty coir mat and you have decided to install it yourself. So here are some easy steps on how to install coir matting.
Coir matting and benefits
As we already mentioned coir matting is one of the most popular choices especially for business buildings, historic buildings and many others but they can be used at home as well.
Coir mats come in a variety of colours to fit the aesthetic of your home or to give your entrance a pop and a fresh look. They can easily be fitted from wall to wall or in a matwell to create the look you envision. They are sold in pre-cut sizes or can be cut to specific requirements. Usually, they are offered in thicknesses between 10 mm and 30 mm but the most common versions are 17mm. When choosing the thickness of your mat, if you are not sure which one will fit your doorway best you may want to speak to a professional who can install your mat, or order samples to try.
The key benefits of having coir matting are that it looks good and keeps dirt spreading to a minimum. It scrapes dirt and debris from shoes well and has a high-water absorbency. With its variety of colours it is pleasing aesthetically.
Prepare for installation
So, before installing it, you have measured the size that you want and have ordered it but it may still be a bit longer than you need it. As a general rule, it is advised to be 3 cm longer than your measurements for matwells so you will have enough to adjust if needed. To cut it you just need a sharp blade and those four steps.
Step 1 – measure
It is important to take accurate measurements of the area where you are going to place the mat. Take the measurements a few times to make sure you have the right ones both on length and width as often matwells will not be as regularly shaped as they look.
Step 2 – mark
Now it is time to turn the mat over with the PVC backing facing you, and mark it with a marker or anything that will stay visible to guide you when you cut it. If the shape you are going to cut your mat into is a more unusual one, then you will also need to flip the measurements on the back.
Step 3 – cut
It is time to cut the mat. You just have to cut through the PVC backing which should not be too hard. After separating the mat from the part you have cut you may need your blade to cut through some of the tangled coir bristles.
Step 4 – install
Place your mat into a matwell or where you want it and enjoy your newly refurbished entrance. If it is still a bit longer just refer back to step one, two and three.

