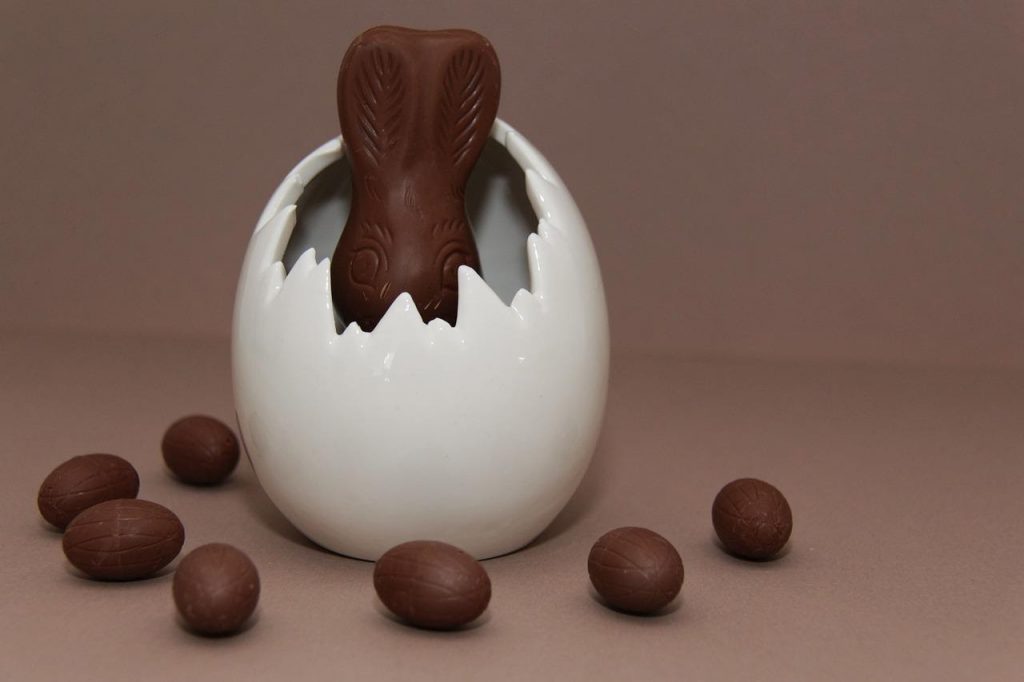
As the Easter season quickly approaches, you will need a few Easter miracles. But that is sans the Easter bunny due to the prevailing lockdowns. All the same, you can remain as joyful and happy as ever with one or two tips for such delicious and fun snacks as chocolate Easter eggs.
The best thing about making your own is that you can add to the ingredients and commit your heart and soul to create the most colorful and tasty Easter eggs. You can always purchase personalised Easter chocolates made in Australia, or you can make them yourself. The process is quite exciting and straightforward while at it. Here are some of the simple DIY tips you can use.
Have the Equipment Ready
The essential tools for making the Easter chocolate egg are those small egg molds, and you can use 8 of them. Have a heatproof bowl, a saucepan, and a cooking thermometer. If you do not already have these tools at home, check at your local kitchen shops.
Get the Key Ingredients
Your most essential ingredients for this preparation are:
- 300g dark chocolate containing about 70% cocoa solids. In the absence of this, you can opt for milk chocolate.
- Sunflower oil for greasing purposes
- Various colors of icing for piping
Here is the process
- First, clean the molds with a soft, clean, and damp cloth, ensuring that it is completely dry. Next, dampen another soft cloth with sunflower oil and polish the molds’ inner parts with it. The highly polished egg mold surface helps release the set chocolate quickly and a smooth and even finish.
- The second step is to temper the chocolate by heating it and cooling it in readiness for molding. You will need a few things for this process, and these are a cooking thermometer and a heatproof bowl. You can break the chocolate into the bowl and heat it gently above a saucepan with hot but not boiling water. Then, place the thermometer into the chocolate until it comes to 43C, and take it off the heat. For cooling, let it come to 35 C.
- Next, scoop spoonfuls of the chocolate into the molds. Swirl it around, ensuring that it is well coated as you also level the layers. You can then cover it in greaseproof paper, leaving it to set. Remember to fill each mold with an equal amount of chocolate. You can use a clean ruler or your knife’s flat edge to make a clean and balanced level anytime you want to add an extra layer of chocolate. Generally, the setting in between the layers takes about 20 minutes.
- The next step of your preparation is unmolding. Have a clean surface on which to place your egg halves, being cautious not to touch the chocolate as it could begin to melt. You can also heat a baking sheet and use it to temporarily place the separate halves, then gently sticking the edges together to become a whole egg.
- The last stage is for decoration. A small cup can serve as the egg stand. Use the different icing colors for piping so that what you have are fun, bright-colored chocolate Easter Eggs.
Final Thoughts On Chocolate Easter Eggs
Easter eggs and the games we play with them can create memories for a lifetime. Add some excitement to your next easter hunt by mixing traditional easter eggs with homemade chocolate easter eggs.

